Adding DNS records to your domain to start receiving emails
Who is this article for?
This article is for CANdo customers who have chosen to host their emails with us. The process of adding DNS records is fairly straightforward, but must be followed very carefully to ensure that there are no delays to getting your email ready to receive.
If you have any concerns about the process, please just get in touch. If you let us have the username and password for the website that hosts your domain name, we will be happy to jump in and set this up for you.
Getting started
What you’ll need to begin
- Time needed: Approximately 10 minutes to configure (and an additional 24-48 hours for the domain to update)
- Access to your DNS records: You need access to update DNS entries for your domain. If you don’t know where your DNS is hosted, see How to find your domain’s DNS host.
What are the types of DNS entries?
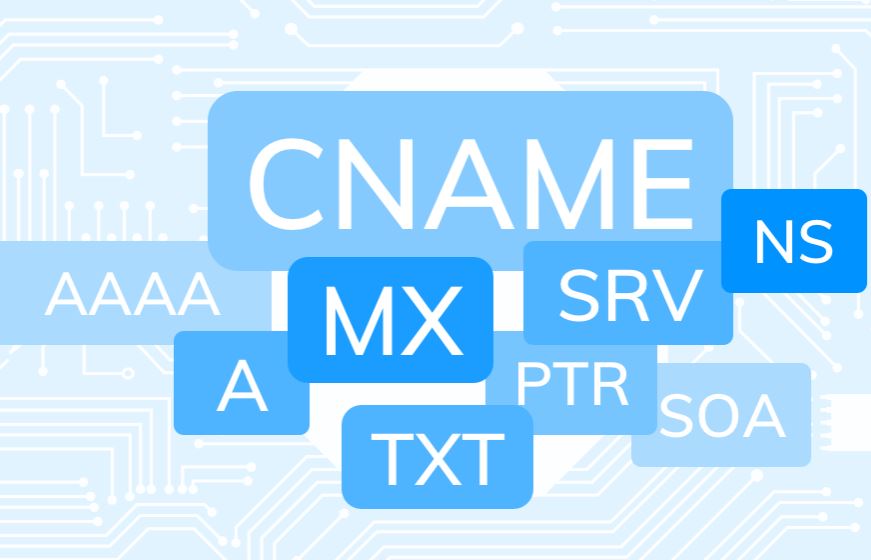
The following are the types of records you’ll be adding and a description of what they do. You don’t need to know or understand this to get set up, but we’ve provided this for your information.
- MX records tell other email providers where to send email. Your MX records should point to our servers.
- SPF records reduce unwanted SPAM and spoofing from your domain and ensure that outgoing emails are delivered.
- Autodiscover records allow for easier email client setup.
The DNS records you need to add
Use the following steps to ensure your domain properly routes incoming and outgoing email.
- Log in to the control panel for your domain DNS host.
- Set the DNS entries to the values shown in the following table. Ensure that no other MX record entries exist, or you will experience complications with your email.
| Type | Hostname | Destination | Priority | TTL |
|---|---|---|---|---|
| MX | @ or left blank | mx1.emailsrvr.com | 10 | 3600 seconds or lowest allowed |
| MX | @ or left blank | mx2.emailsrvr.com | 20 | 3600 seconds or lowest allowed |
| TXT | @ or left blank | v=spf1 include:emailsrvr.com ~all | NA | 3600 seconds or lowest allowed |
| CNAME | autodiscover | autodiscover.emailsrvr.com | NA | 3600 seconds or lowest allowed |
- Check you’ve added everything correctly and save your changes.
Note: Your new settings may take effect immediately, but they can take 24 to 48 hours to propagate to the world.
What’s next?
Once your DNS has propagated, you’ll need to add the email settings to your devices, so you can start sending and receiving from your new email address. Click this link to find out how to add email mailboxes to various types of device and email client.